How to Create Photos for an Amazon Listing (4 Paths)
Four practical paths to create Amazon listing photos: DIY smartphone, freelance photographer, in-studio agency, or AI image generation. Costs, time, and fit.
On this page
Key Takeaway
Four practical paths create Amazon listing photos. DIY with smartphone ($0 to $100, 2 to 4 hours per SKU). Freelance photographer ($50 to $500 per SKU, 5 to 15 business days). In-studio agency ($500 to $3,000 per SKU, 10 to 20 business days). AI image generation tools (under $50 per SKU, minutes per image). Most sellers combine: DIY or AI for supporting images, professional photography for main images on high-revenue SKUs.
- DIY smartphone works for under-$50 SKUs and learning the basics
- Freelancers fit mid-budget SKUs ($30k-$60k annual revenue)
- Agencies fit premium SKUs ($60k plus annual revenue)
- AI tools fit catalog-wide refresh and supporting image gaps
"How do we create photos for an Amazon listing" is the workflow question every new seller asks. The honest answer is that four practical paths exist, each with different cost, time, and quality trade-offs. This guide breaks down each path with realistic expectations, equipment lists for DIY, and the hybrid workflows most successful sellers actually use.
If you are evaluating how to create your first Amazon image set or scaling up from DIY to professional production, the framework below shows the honest options.
In the SellerShorts marketplace data we track, this set of moves shows up disproportionately on listings that climb ranking quarter over quarter.
Curated by the SellerShorts team. SellerShorts is a marketplace of AI tools serving the Amazon seller community.
Our Amazon Image Generator builds the gallery from one clean product photo. Drop the SKU plus image and get a 7-image gallery (1 main hero plus 6 product tiles built around real buyer questions), pushed live to Seller Central in one click.
The four paths to create Amazon listing photos
| Path | Cost per SKU | Time per SKU | Best fit |
|---|---|---|---|
| 1. DIY smartphone | $0-$100 (equipment) | 2-4 hours | Under-$50 SKUs, learning |
| 2. Freelance photographer | $50-$500 | 5-15 business days | Mid-budget SKUs |
| 3. In-studio agency | $500-$3,000 | 10-20 business days | Premium SKUs, brand-defining |
| 4. AI image generation | Under $50 | Minutes per image | Catalog refresh, supporting images |
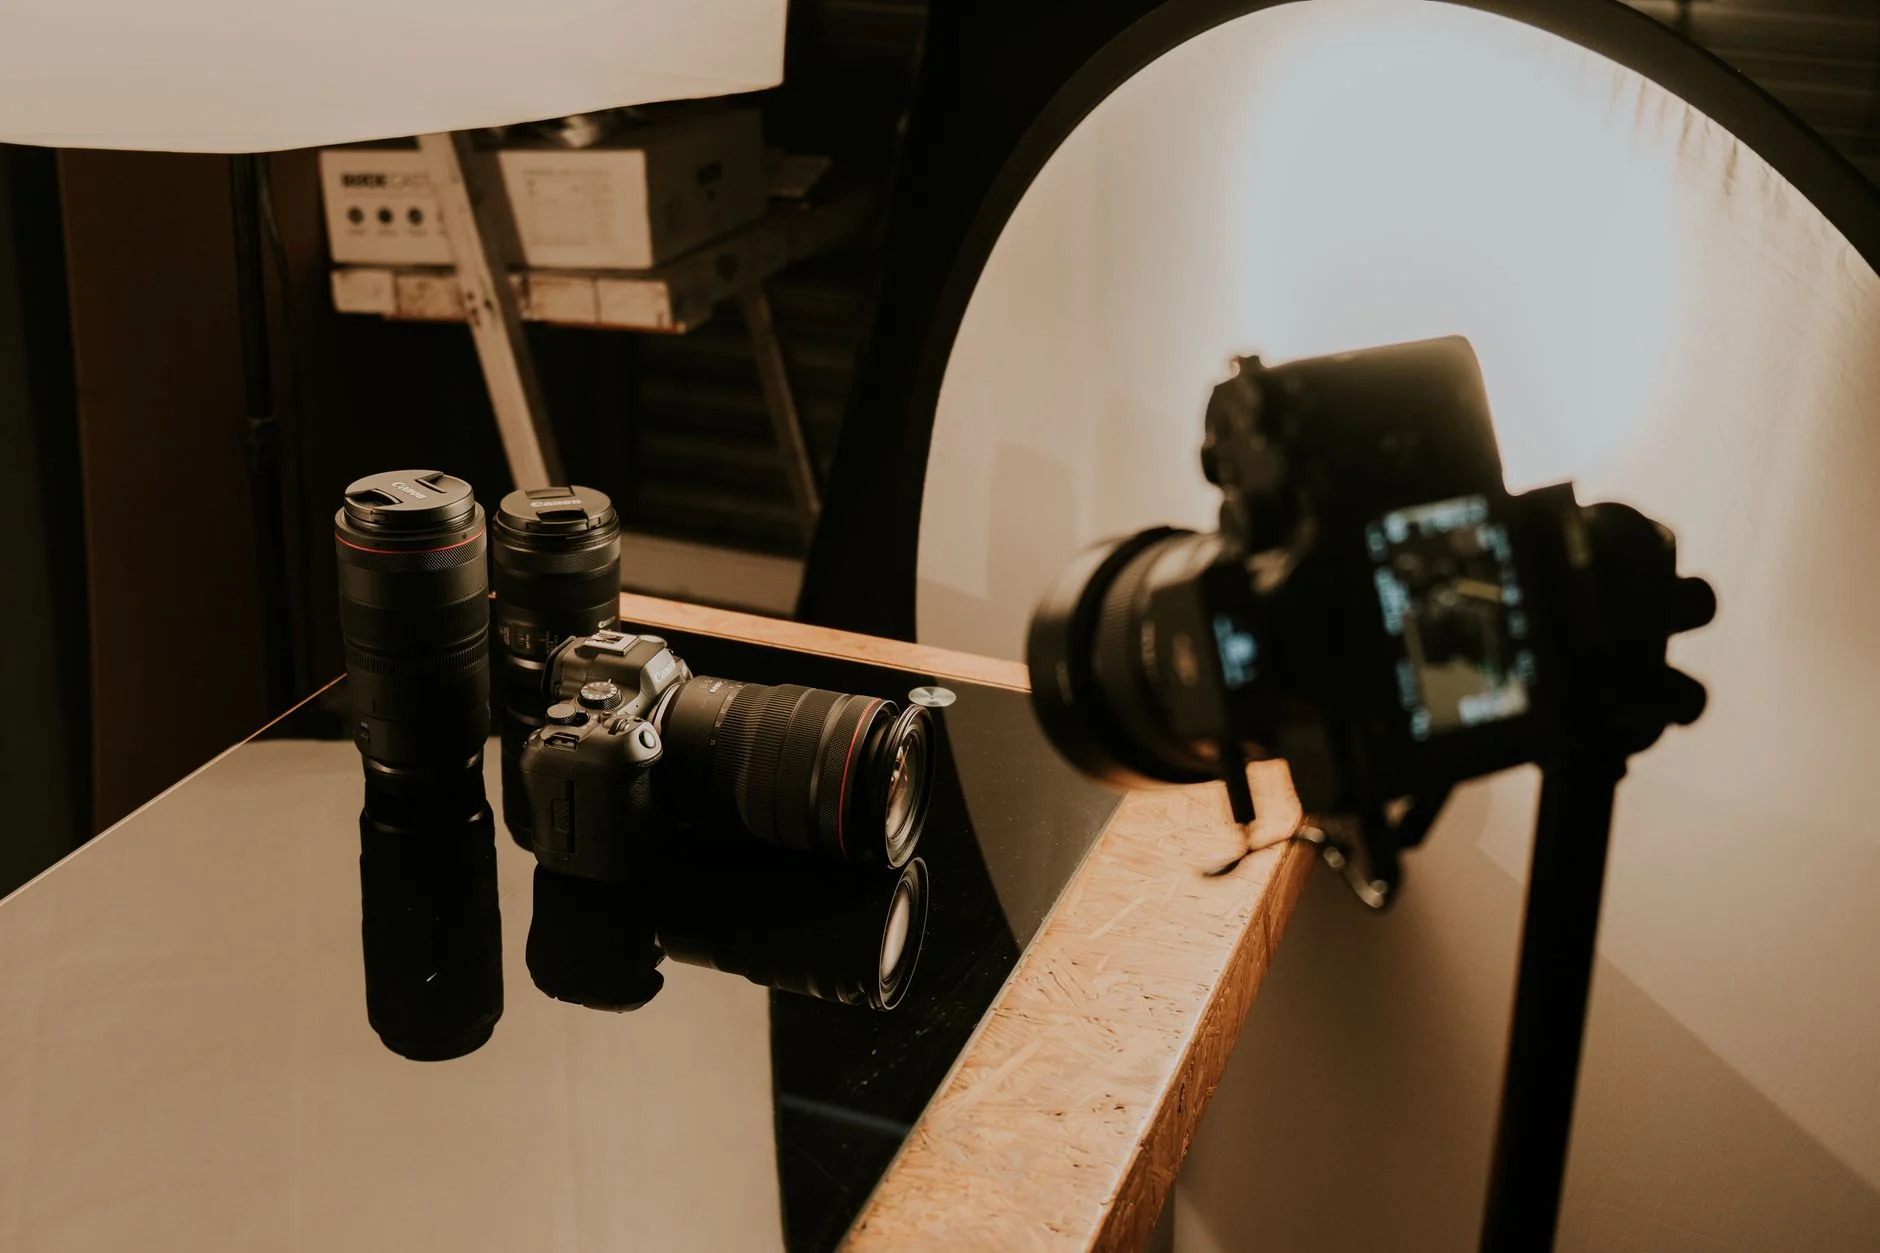
Path 1: DIY with smartphone and basic lighting
- What you need: Smartphone with 12 MP plus camera, pure white backdrop, consistent light source, basic editing software.
- What works well: Main image on white (smartphones produce spec-compliant 1000 x 1000 px images). Simple detail close-ups. Scale references with hand or common object.
- What is harder: Lifestyle images requiring models or complex scenes. Infographics with overlay text and icons. Editorial-quality polish.
- Realistic time: 2 to 4 hours per SKU for a complete 7-image set including basic editing.
- Honest assessment: Acceptable for under-$50 SKUs and for learning the workflow. Scale up to professional or AI tools as revenue justifies.
Path 2: Freelance photographer
- Where to find: Upwork, Fiverr Pro, specialized Amazon photographer marketplaces, local studios.
- What you get: Main image plus 2 to 4 supporting images. Some include basic editing and retouching.
- What you usually need to add: Infographic design (often separate cost or freelancer), lifestyle with models, premium retouching.
- Realistic timeline: 5 to 15 business days from shipping product to receiving final images.
- Honest assessment: Best for SKUs with $30k to $60k annual revenue where professional quality justifies cost but agency pricing does not yet.
Path 3: In-studio agency
- What you get: Full production with main, lifestyle (with models), infographic design, comparison chart, detail close-ups, packaging shots, often A+ content imagery.
- What it costs: $500 to $3,000 per SKU depending on scope and agency tier.
- Realistic timeline: 10 to 20 business days for a full production cycle.
- Honest assessment: Best for high-revenue SKUs ($60k plus annual), brand-defining flagship products, or premium categories where editorial-quality imagery returns the cost via conversion lift.
Path 4: AI image generation tools
- What you get: AI-generated lifestyle scenes, infographic templates, white-background standardization, background removal.
- What AI cannot do: Fabricate your actual product accurately for main image (still need real photography or product render).
- What it costs: Under $50 per SKU typical. Free tiers available on some tools.
- Realistic timeline: Minutes per image. 30 to 60 minutes per SKU for a complete supporting image set.
- Honest assessment: Best for catalog-wide refresh, filling missing supporting image slots, and combining with real main image photography. Not a complete replacement for product photography on the main image.
DIY equipment checklist (under $200 total)
- Smartphone with 12 MP plus camera. Most modern phones work.
- White seamless paper or backdrop ($20 to $40). 9-foot roll lasts many SKU shoots.
- Continuous light source ($50 to $100). One basic softbox or LED panel. Or use bright window light for free.
- Tripod ($30 to $50). Essential for consistent angles across SKUs.
- Reflector card ($10 to $20). White foam board fills shadows; eliminates need for second light.
- Editing software (free). Photopea (web), GIMP (desktop), Snapseed (mobile).
Common Amazon photo creation mistakes
The recurring obstacles below get most of the attention because avoiding them carries most of the upside.
- Inconsistent lighting. Harsh shadows from single hard light source. Fix: use diffused lighting or window light.
- Off-white backdrop. Wrinkled, shadowed, or tinted backgrounds. Fix: pure white seamless paper.
- Wrong color space. CMYK exports from professional software. Fix: confirm sRGB before exporting.
- Inconsistent style across SKUs. Different lighting, angles, or backgrounds across product family. Fix: standardize one setup and replicate.
- Skipping editing and retouching. Dust, fingerprints, color shifts left in. Fix: 5 to 10 minutes of basic editing per image.
- Trying to do lifestyle without models. Empty rooms feel staged. Fix: use product-in-context shots without people, or use AI lifestyle tools.
When to switch from DIY to professional photography
DIY works well for learning and for under-$50 SKUs. Three signals suggest it is time to upgrade:
- SKU annual revenue past $30k. Photography budget of $200 to $500 typically returns the cost via conversion lift within 90 days.
- Time investment exceeds 6 to 8 hours per SKU. If DIY photography is eating significant time per SKU, the opportunity cost outweighs the cost savings.
- Visual quality gap vs category competitors. If your top 10 competitor listings all use professional photography and yours stands out as visibly DIY, conversion suffers.
The honest scaling path: DIY for first 1 or 2 SKU launches to learn the workflow, then upgrade to freelancers or AI tools as revenue justifies the investment.
Conclusion
Four practical paths create Amazon listing photos: DIY smartphone (cheapest, learning curve), freelance photographer (mid-budget), in-studio agency (premium), and AI image generation tools (fastest, catalog scale). The right path depends on SKU revenue, catalog size, and how much time you can invest. Most successful sellers combine: DIY or AI for supporting images, professional photography for main images on high-revenue SKUs. For text optimisation that pairs with this visual work, our Amazon Listing Optimizer handles the 6 pillars.
The honest first step for new sellers: try DIY with smartphone and basic lighting on your first 1 or 2 SKUs to learn the workflow. Scale up to freelancers or agencies as revenue justifies the investment. Use AI tools for catalog-wide refresh and to fill missing supporting image slots quickly. Next reads to deepen this: how to optimize your amazon product images for sales, amazon product listing images best practices guide, plus optimizing product listings for higher conversion rates.
References
Frequently asked questions
How do we create photos for an Amazon listing?
Four paths. DIY with smartphone and basic lighting (cost: $0 to $100, time: 2 to 4 hours per SKU). Hire a freelance photographer (cost: $50 to $500 per SKU, time: 5 to 15 business days). Hire an in-studio agency (cost: $500 to $3,000 per SKU, time: 10 to 20 business days). Use AI image generation tools (cost: under $50 per SKU, time: minutes per image). Most sellers combine: DIY or AI for supporting images, professional photography for main on high-revenue SKUs.
Can I take Amazon product photos with my phone?
Yes for the main image and basic supporting images. Modern smartphones (iPhone 12 plus, Pixel 5 plus, Samsung Galaxy S20 plus) produce 1000 x 1000 px main images that meet Amazon's spec. You need consistent lighting (natural daylight or a basic softbox setup) and a pure white background (sweep paper or backdrop). DIY photography works well for under-$50 SKUs and for any seller learning the basics before scaling.
What equipment do I need to create Amazon product photos at home?
Five basics. A smartphone with at least 12 MP camera or any DSLR/mirrorless camera. Pure white seamless paper or backdrop (about $20 to $40). A continuous light source (window light or basic softbox under $100). A tripod (under $50). Basic editing software (free options: Photopea, GIMP, or smartphone apps like Snapseed). Total startup cost: $100 to $200 for a working home setup.
How do I make my Amazon photos look professional?
Four techniques. Use consistent diffused lighting (no harsh shadows). Shoot against pure white seamless background (no wrinkles, no shadows). Style the product carefully (clean, no fingerprints, accessories arranged). Edit for color accuracy in sRGB color space (not CMYK). Most amateur Amazon photos look amateur because of inconsistent lighting and shadowed backgrounds, both fixable with $100 of equipment.
What is the easiest way to create Amazon product photos?
AI image generation tools for supporting images plus a smartphone shoot for the main image. AI tools generate lifestyle scenes, infographic templates, and supporting context images in minutes. Smartphone main image with proper lighting takes 30 to 60 minutes. Total time per SKU: 1 to 2 hours for a complete 7-image set. Total cost: under $100.
How do I create lifestyle images for an Amazon listing without a model?
Three options. Use yourself or a family member as the model (informed consent only). Use AI image generation tools to create lifestyle scenes with stock-style models. Use product-in-context shots without people (product on desk, in kitchen, in backpack). The without-people option works well for many categories; the model is not always required to create effective lifestyle imagery.
How do I create an infographic image for an Amazon listing?
Four-step workflow. Sketch 4 to 6 benefit callouts you want to highlight. Photograph or render the product on white. Use Canva, Photoshop, or AI infographic tools to overlay callouts with icons and short text. Export at 2000 x 2000 px sRGB JPG. Most sellers can create acceptable infographic images in 1 to 2 hours using free Canva templates.
What is the most common mistake when creating Amazon product photos?
Inconsistent lighting that produces shadows or color shifts. Most amateur photos have either harsh shadows from a single light source or color shifts from mixing daylight with indoor lighting. The fix is straightforward: use one consistent light source (window light or one softbox), avoid mixing color temperatures, and shoot at the same time of day for consistency across SKUs.
AI Tools You Can Try
Create Amazon images in minutes, not days.
Drop your product photo. Get an Amazon-compliant main image plus lifestyle, infographic, and supporting images for all 9 slots. Push live in one click.
Try the Amazon Image Generator →